Tablespoon vs. Teaspoon
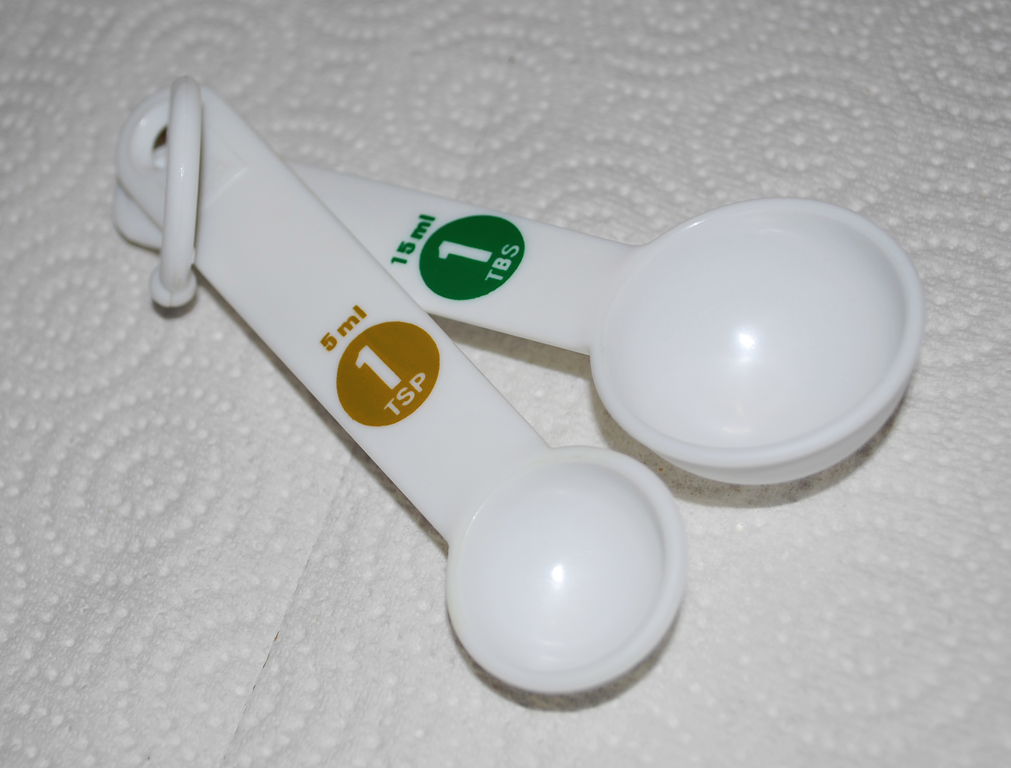
A tablespoon and a teaspoon are both units of measurement used commonly in cooking. A tablespoon is the larger of the two with 3 teaspoons being contained in a single tablespoon is commonly abbreviated in recipes as TBS. A teaspoon is the smaller unit of measure and it is commonly abbreviated in recipes as tsp.